Tenant Setup
Brand your project (name, logo, colours, theme, fonts) and point a custom domain at Onsend.
Your project ("tenant") is the public, branded surface your community sees:
the leaderboard, campaign pages, claim pages and the wallet sign-in flow. This
guide covers the two pieces of setup that make it yours: branding (name,
logo, colours, theme and fonts) and a custom domain (running the whole
thing on rewards.yourproject.com instead of an Onsend subdomain).
Branding
Project name, logo (light + dark), brand colours, light/dark mode, fonts, favicon and social-share image, all applied across the public surface.
Custom domain
Serve your campaign site from your own hostname with automatic TLS, instead of yourname.onsend.com.
Branding
Branding lives under Settings → Branding. The page has a live preview on the right that updates as you edit, so you can see the public surface take shape before you save. Branding edits require the Admin role.
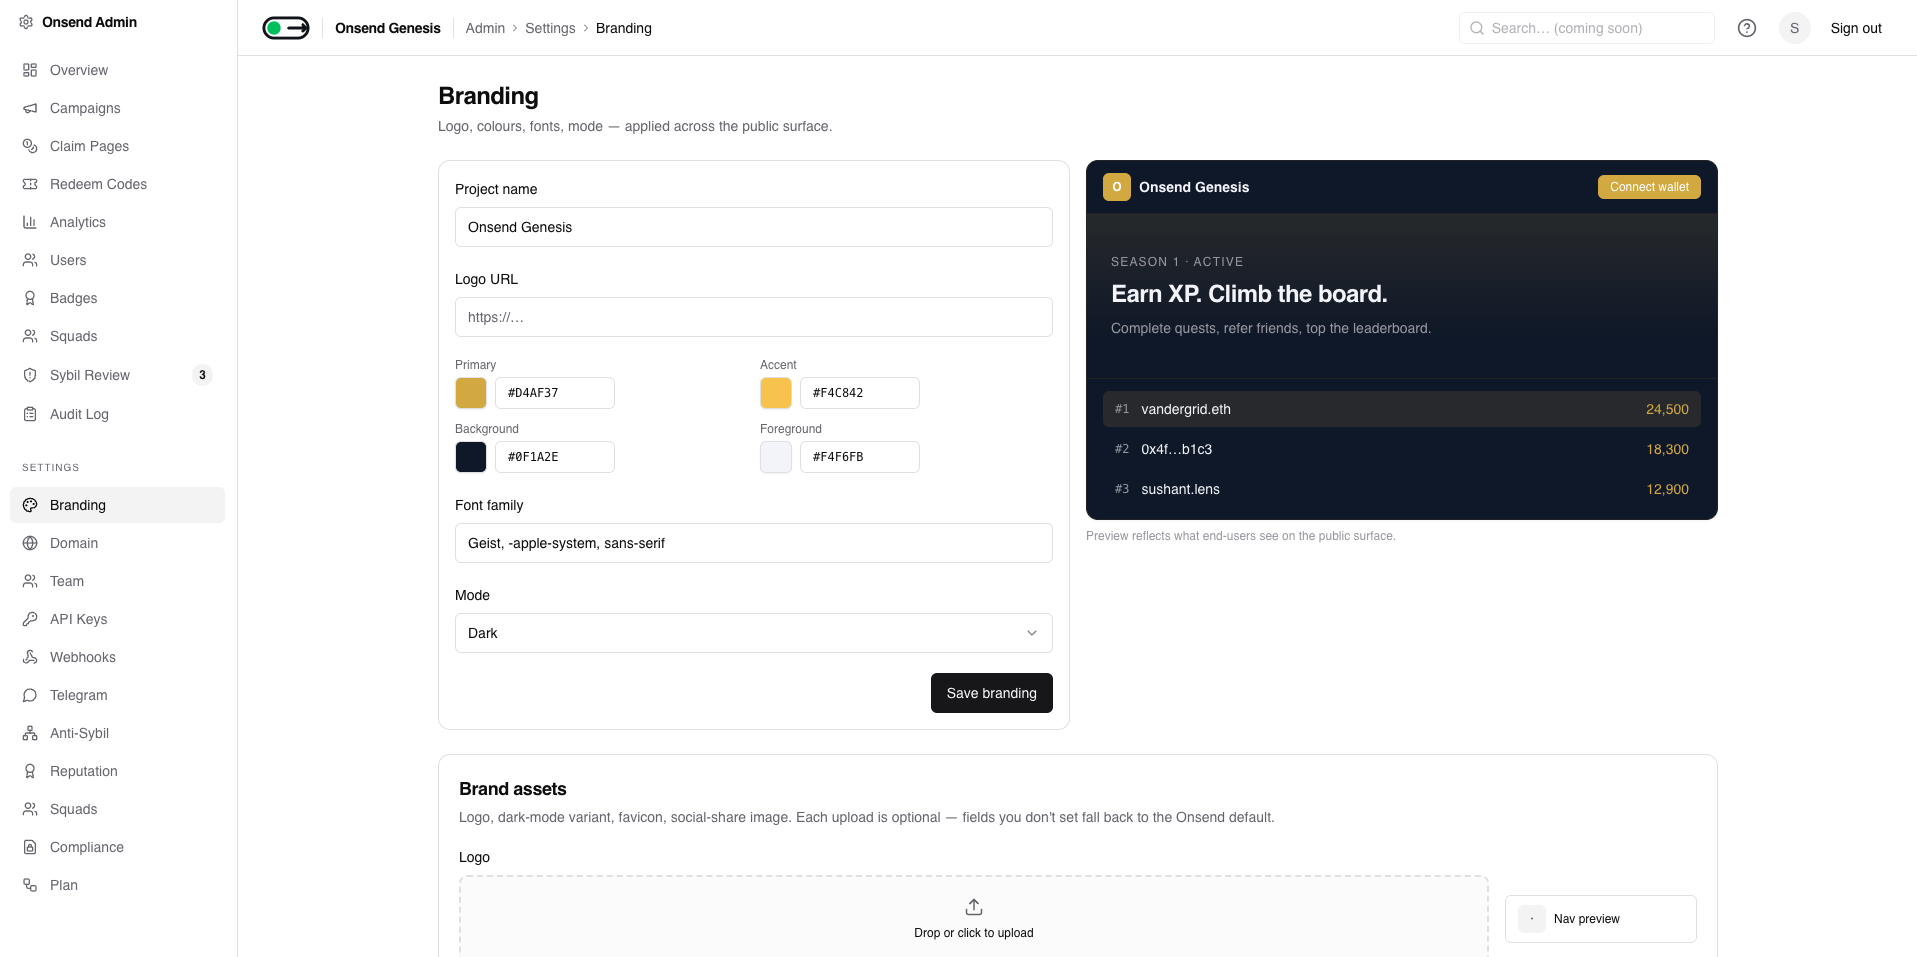
Branding is split into two parts on the page:
- Branding: text and colour fields (project name, logo URL, colours, font, mode), saved together with one Save branding button.
- Brand assets: image uploads (logo, dark-mode logo, favicon, social-share image), each saved independently the moment you upload it.
Everything is optional
Any field you leave blank falls back to the Onsend default. A brand-new project renders perfectly well before you touch a thing; branding only ever overrides defaults, never breaks the page.
Start from a design preset
The fastest way to brand your project is to pick a design preset: a complete look (colours, type, corners and depth) that re-skins the whole player-facing app in one click. Onsend ships four:
| Preset | The look |
|---|---|
| Onyx | Warm charcoal with a luminous amber accent: luxe and focused. |
| Editorial | Warm ivory paper and ink serif headlines: calm and magazine-grade. |
| Voltage | Midnight navy with electric lime and magenta, big rounded shapes: playful and loud. |
| Carbon | Stark mono, sharp corners, a hairline grid and one hit of safety orange: industrial. |
Pick a preset card under Design preset and the live preview re-skins to match. From there you can fine-tune the accent colour on top, or choose Custom to build every colour and font from scratch. A preset is a starting point, not a cage.
Admin → Settings → Branding → Design preset picker
slot: tenant-setup.design-presetsIdentity: name and logo
Set your project name
The project name (projectName) is the display name shown across your
public surface: in the navigation, page titles and share cards. If you leave
it blank it falls back to your tenant name. 1–60 characters.

Add your logo
Your logo is your main brand mark, shown in the navigation. There are two slots:
- Logo (
logoUrl): your primary mark. Recommended: a 512×128 wordmark or a 256×256 square symbol. - Dark-mode logo (
logoDarkUrl, optional): a light-coloured variant used when your theme mode is dark. If you leave it empty, the main logo is used everywhere.
Upload these in the Brand assets section. Each accepts JPG, PNG, WebP or SVG up to 2MB, and each upload saves on its own, so there's no separate "save" step for assets.
Two ways to set a logo
The text form also has a Logo URL field, and the Brand assets section has
a Logo uploader, and both write the same logoUrl. Use the uploader if you
want Onsend to host the image; use the URL field if your logo already lives
at a stable public URL.
Colours
Branding exposes four colour swatches via a colour picker. Colours are stored
as hex (e.g. #6366f1) and applied as theme tokens across the public surface.
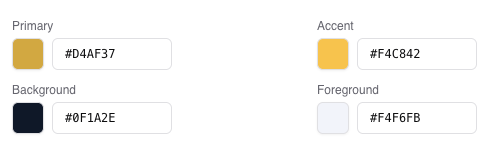
| Colour | Field | Default | Used for |
|---|---|---|---|
| Primary | primaryColor | #6366f1 | Buttons, links, primary accents |
| Accent | accentColor | #ec4899 | Secondary highlights |
| Background | backgroundColor | #ffffff | Page background |
| Foreground | foregroundColor | #0a0a14 | Body text |
Contrast is checked for you
On save, Onsend runs a WCAG contrast check on your colours. If foreground vs background drops below the 4.5:1 AA threshold for body text (or the primary colour falls below 3:1 for large text/buttons), you'll get an inline "Heads up" warning. The save still goes through; the warning is advisory, so you can ship a bold palette while knowing where it might read poorly.
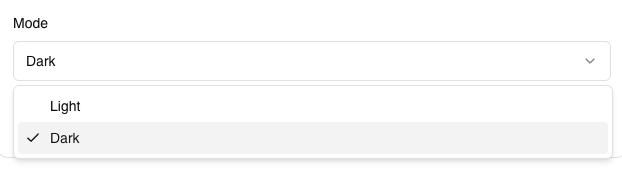
Theme mode and fonts
Choose light or dark mode
The Mode selector (mode) sets whether your public surface renders
light or dark. This also decides which logo is used: dark mode pulls
your dark-mode logo when one is set.
Set your font
The Font family field (fontFamily) is a standard CSS font-family stack.
It defaults to Geist, -apple-system, sans-serif. Provide a full fallback
stack (for example "Inter", -apple-system, sans-serif) so text renders
sensibly if your primary face fails to load.

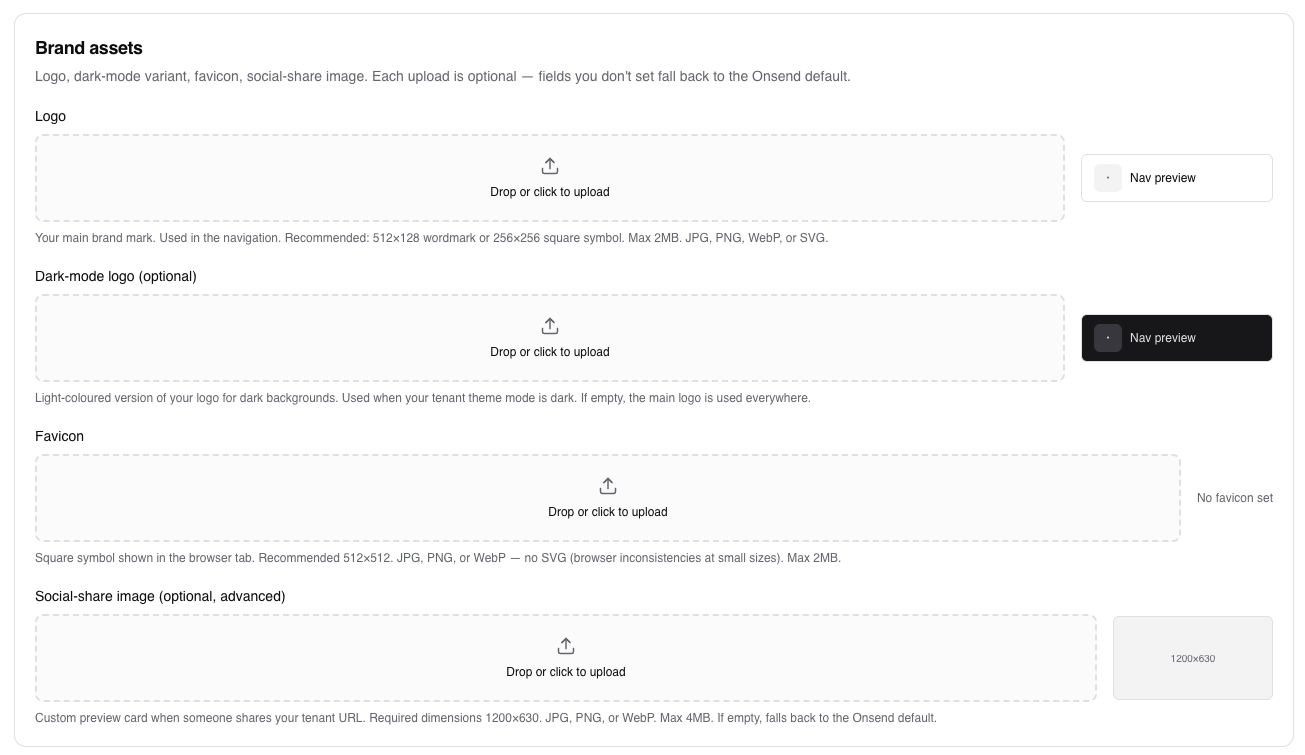
Favicon and social-share image
The remaining two Brand assets uploaders cover how your project looks in the browser tab and when shared on social media.
- Favicon (
iconUrl): the square symbol in the browser tab. Recommended 512×512. JPG, PNG or WebP only (no SVG, since browsers render it inconsistently at small sizes), max 2MB. - Social-share image (
ogImageUrl, optional): the preview card shown when someone shares your project URL. Required dimensions 1200×630. JPG, PNG or WebP, max 4MB. If empty it falls back to the Onsend default.

Live preview before you commit
Use the preview panel beside the form to sanity-check colour, logo and mode combinations together. It applies the exact same theme tokens the live public surface uses, so there's no drift between what you preview and what ships.
Custom domain
By default your project is served from an Onsend subdomain,
yourname.onsend.com. You can instead point your own hostname (for example
rewards.yourproject.com) at Onsend. Custom-domain setup lives under
Settings → Domain and requires the Admin role.
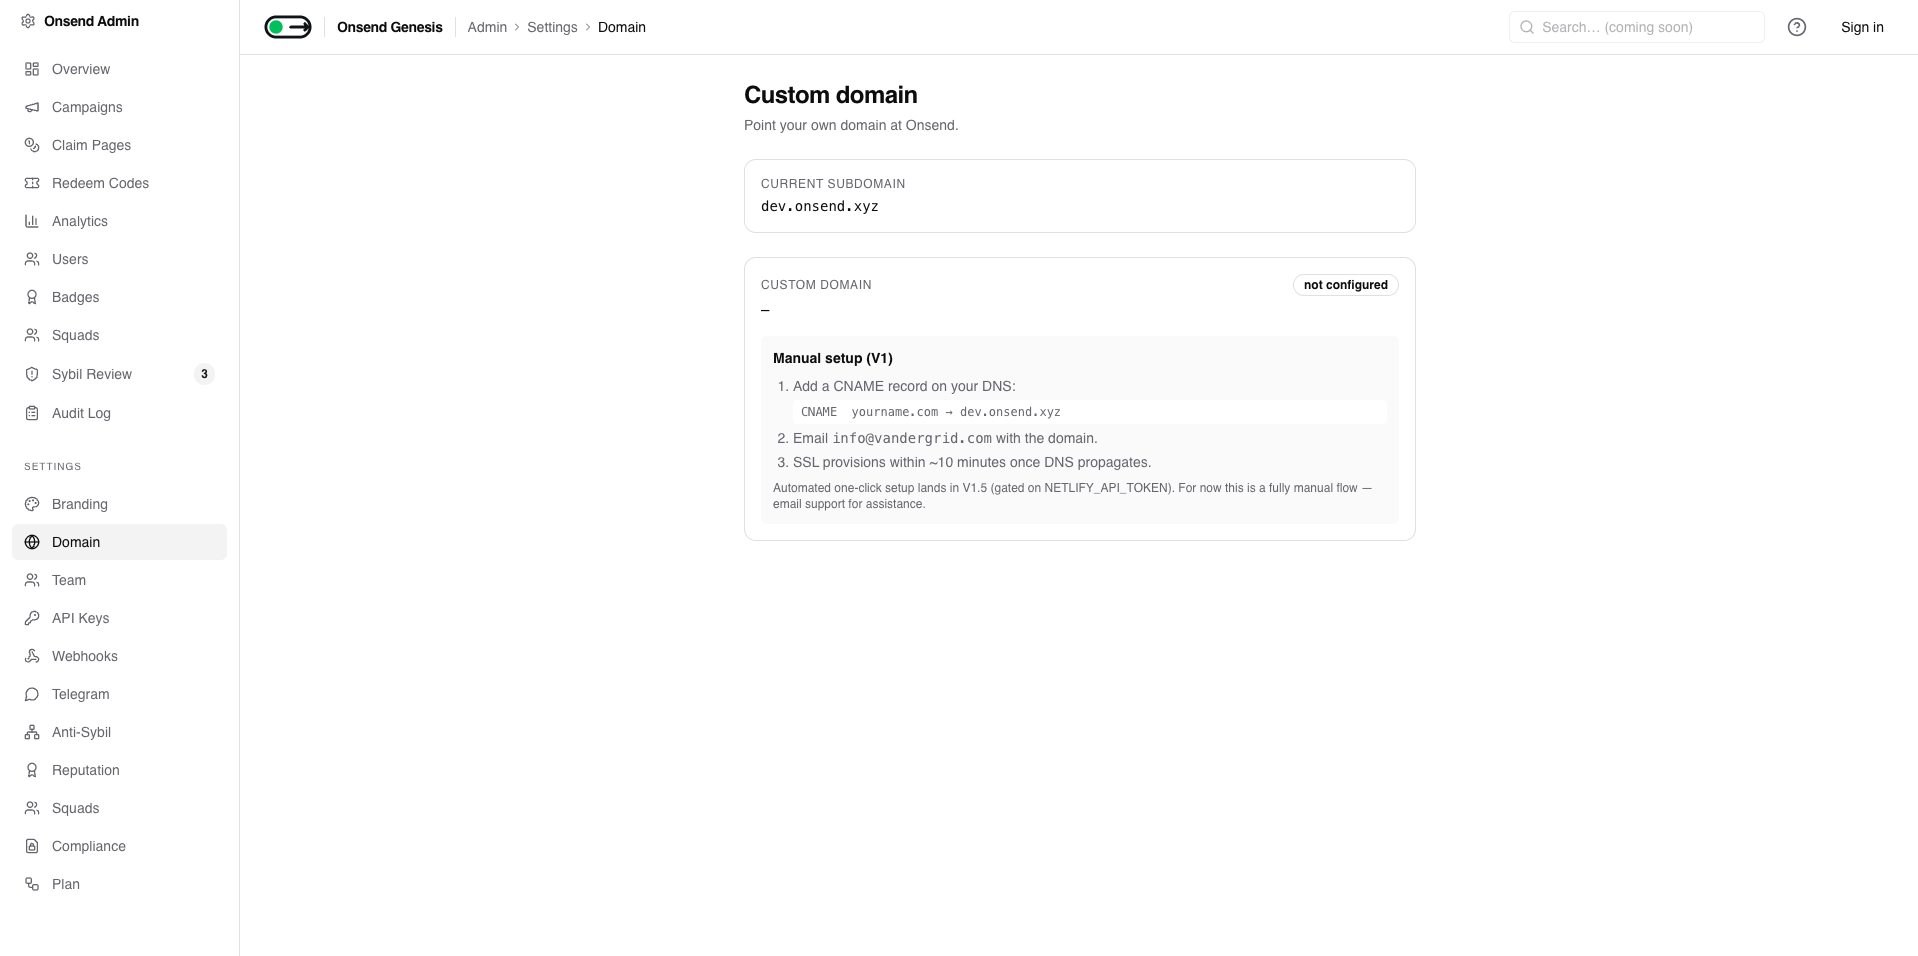
Manual setup in V1
In V1, custom-domain setup is a manual flow: you create one DNS record and email support to attach the domain to your project. Automated one-click provisioning is planned for a later release. The steps below are exactly what the Domain settings page walks you through.
Add a CNAME record
In your DNS provider, add a CNAME record pointing your hostname at your Onsend subdomain (your CNAME target):
The target is your current Onsend subdomain (<slug>.onsend.com), shown at the
top of the Domain settings page as your current subdomain.
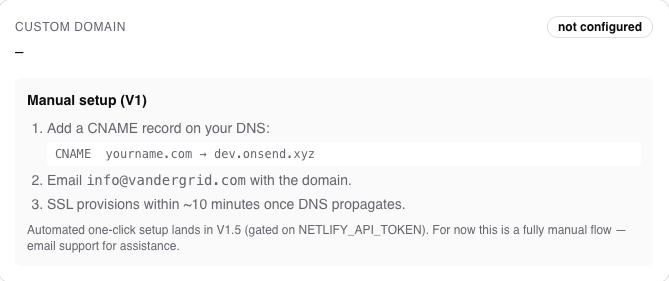
Email support to attach the domain
Email support@onsend.com with the domain you want to use. Support sets it as
your project's customDomain so Onsend knows to serve your project for that
hostname.
Why a manual step?
TLS certificates are issued on demand, and a certificate is only minted
for a hostname when both are true: the domain resolves to Onsend's IP
(your CNAME is live and propagated) and the hostname matches your
project's customDomain. Setting customDomain is the part support does for
you in V1.
Wait for TLS to provision
Once DNS has propagated, the certificate provisions automatically, typically within about 10 minutes of the domain resolving to Onsend. After that your project serves over HTTPS on your own domain.
DNS first, then the cert
Order matters: the CNAME has to resolve to Onsend before a certificate can be issued. If the domain doesn't resolve yet, certificate issuance is refused (this prevents minting certs for hostnames that aren't really yours). Get the CNAME live, confirm it propagates, then expect TLS shortly after.
Next steps
With branding and your domain in place, your project surface is ready to fill with quests.